Mark two points on the ceiling at the same spacing as the two holes in the sign, drill three holes at each point, push in the anchors, screw on the two ceiling bases, push each cable up into its base until it locks, hook the sign on through its two holes, slide the grippers to level it, and plug in.
That is the whole ceiling install. The video shows it in under a minute, and the written steps below add what to check at each one.
What you need
- ✓ The cable hanging kit: two ceiling bases with three screws each, and two steel cables, each with a gripper and a hook at the bottom.
- ✓ A tape measure and a pencil for the two marks.
- ✓ A drill.
- ✓ Wall anchors if your ceiling is drywall or plaster.
Step by step
- Mark the two hanging points (0:04). Measure the distance between the two holes at the top of the sign and mark two points on the ceiling at exactly that spacing. If the spacing is off, the cables pull inward or outward and the sign will not hang straight.
- Drill three holes at each point (0:09). Hold a ceiling base up to the mark, mark its three screw holes through it, then drill. Check what is above the ceiling first.
- Insert the wall anchors (0:17). For a drywall or plaster ceiling, push an anchor into each hole. If the screws are going straight into a wood joist, you do not need them.
- Screw the ceiling base on (0:21). Three screws per base. Tighten until the base sits flat against the ceiling.
- Install the second base the same way (0:31).
- Push each cable up into its base (0:36). The base locks onto the cable by itself. Give the cable a gentle pull to check it has caught.
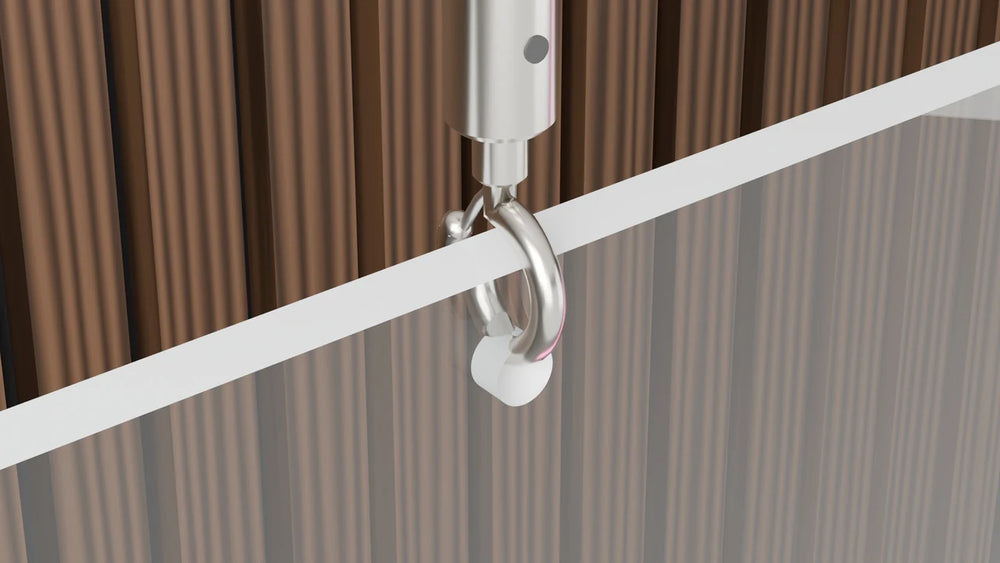
- Hook the sign on (0:41). One hook through each of the two holes at the top of the sign.
- Level the sign (0:47). Press the button on the gripper, slide it up or down the cable, then let go to lock. Adjust one side until the top edge of the backboard reads level.
- Plug in (0:54). Done.
Before you drill
- ✓ What is above the ceiling. Cables, pipes and ducts. A detector is cheap compared with the alternative.
- ✓ What the ceiling is made of. Drywall and plaster take anchors. A wood joist takes the screws straight in. Concrete takes a masonry bit and a plug to suit it. See Drilling for a neon sign: which bit and which wall.
- ✓ Where the power cord will run. It comes off the sign and has to reach an outlet without stretching. Plan that before the bases go up.
- ✓ The spacing, twice. Measure the holes in the sign, mark the ceiling, then measure between the marks again before the first hole.
When to call a pro
On a normal-height ceiling in a home or shop, most people can do this with a drill and a step ladder. Bring in help when any of these apply:
- ✓ A high ceiling. Anything you cannot reach comfortably from a step ladder is a job for an installer with the right access equipment.
- ✓ A ceiling you cannot identify. If you do not know what you are drilling into, ask before you drill.
- ✓ Hardwired power. If the sign connects to the building's power rather than plugging in, have a licensed electrician make that connection.
The two things worth slowing down for are the spacing of the marks and the gripper. Measure the holes in the sign rather than judging by eye, so the cables hang straight. Then let the gripper do the levelling: press, slide, let go. Everything in between is three screws per base.
Questions about hanging your sign? Email service@aoos.com or call (213) 328-2667.
Frequently asked questions
How do you hang a neon sign from the ceiling?
Mark two points on the ceiling at the same spacing as the two holes in the sign, drill three holes at each point, fit anchors if the ceiling is drywall or plaster, screw on the two ceiling bases, push each cable up into its base until it locks, hook the sign on through its two holes, level it by pressing the gripper button and sliding, then plug in.
How do I level a sign hanging on cables?
With the grippers. Press the button on the gripper, slide it along the cable, and let go to lock. Adjust one side at a time until the top edge of the backboard is level.
Do I need anchors for the ceiling bases?
On a drywall or plaster ceiling, yes: push an anchor into each hole before the screws go in. If the screws are going straight into a wood joist, you do not. If the ceiling is concrete, use a masonry bit and a plug to suit it, and ask us if you are not sure.
How does the cable attach to the ceiling base?
Push the end of the cable up into the base and it locks by itself. There is nothing to tighten.
How does the cable attach to the sign?
With the hook at the bottom of each cable. It goes through one of the two holes at the top of the sign's backboard, so the sign hangs from two cables.
We have made neon since 1998, and we still make it ourselves. If something here does not answer your question, ask us.