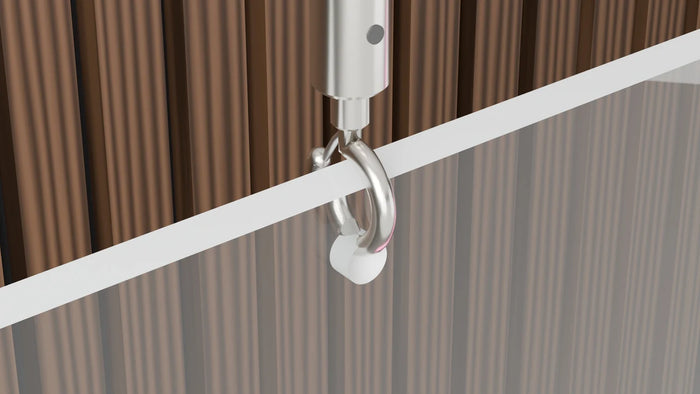
Drywall takes a 6mm bit and a plastic plug. Brick, block or concrete takes a masonry bit and a hammer drill. Tile takes a diamond or spear point bit with the hammer action switched off.
Signs come with the mounting hardware. What is not in the box is the plug that suits your particular wall, because we do not know what it is made of.
Identify the wall first
Knock on it. A hollow sound with a bit of give is plasterboard on studs. A dull solid thud is masonry. If you are unsure, drill a small pilot somewhere hidden and look at the dust: white powder is plaster or plasterboard, gray grit is concrete or block, red dust is brick.
| Wall | Bit | Fixing | Hammer action |
|---|---|---|---|
| Plasterboard, no stud | 6mm HSS | Self drive or toggle anchor | Off |
| Plasterboard, into a stud | 3mm pilot | Screw straight in | Off |
| Brick or block | 6mm masonry | Brown plastic plug | On |
| Concrete | 6mm masonry | Brown plastic plug | On |
| Tile over masonry | Diamond or spear point, then masonry | Plug to suit the substrate | Off through tile, on after |
Before the bit touches the wall
- ✓ Check for cables and pipes with a detector. Runs go vertically and horizontally from sockets and switches, so treat those zones as no drill areas.
- ✓ Hold the sign up first and mark through the mounting holes with a pencil. Get someone to stand back and check it is level and at the height you want.
- ✓ Confirm the cable reaches the outlet from the marked position, without stretching and without crossing a doorway.
- ✓ Put tape over the mark to stop the bit wandering, especially on tile and gloss paint.
Does the fixing need to be strong?
Less than people assume. A 60 by 30 cm sign is around 1.5 kg and a 90 by 45 cm around 3.4 kg. Spread over two or four fixings that is a light load for any correctly installed plug. The failures we hear about are almost always an oversized hole or adhesive on a wall that was not suitable, not an overloaded fixing.
If you would rather not drill at all, adhesive strips, chain and stands all work, and chain is included with every sign.
Buy the right plug rather than the strongest one. A 6mm brown plug in a properly sized hole in brick will hold far more than your sign weighs, while an expensive anchor in a sloppy hole will not. The five minutes spent identifying the wall is worth more than anything you can buy.
Frequently asked questions
What drill bit do I need to hang a neon sign?
A 6mm HSS bit with a plasterboard anchor for drywall, a 6mm masonry bit with a brown plug and hammer action for brick, block or concrete, and a diamond or spear point bit with hammer action switched off for tile. Match the plug to the wall rather than buying the strongest one you can find.
Can I drill through tile to hang a sign?
Yes, with rotation only and no hammer action, using a diamond or spear point bit and a little water to keep it cool. Tape over the mark stops the bit skating. Once you are through the tile, switch to a masonry bit with hammer on for the wall behind.
Is the mounting hardware included?
Yes, along with hanging chain and clear cable. What is not included is the wall plug, because the right one depends on whether your wall is plasterboard, brick, block, concrete or tile, and we have no way of knowing that.
How do I avoid drilling into a cable or pipe?
Use a detector, and treat the vertical and horizontal zones running from every socket and switch as no drill areas, because that is where runs are usually buried. If a detector says anything at all, move the sign rather than risk it.
Why does my wall plug spin instead of gripping?
Almost always because the hole is too big or too deep. Drill to the length of the plug, using tape on the bit as a depth stop, and use the exact bit size the plug specifies. An oversized hole cannot be fixed by a larger screw.
We have made neon since 1998, and we still make it ourselves. If something here does not answer your question, ask us.