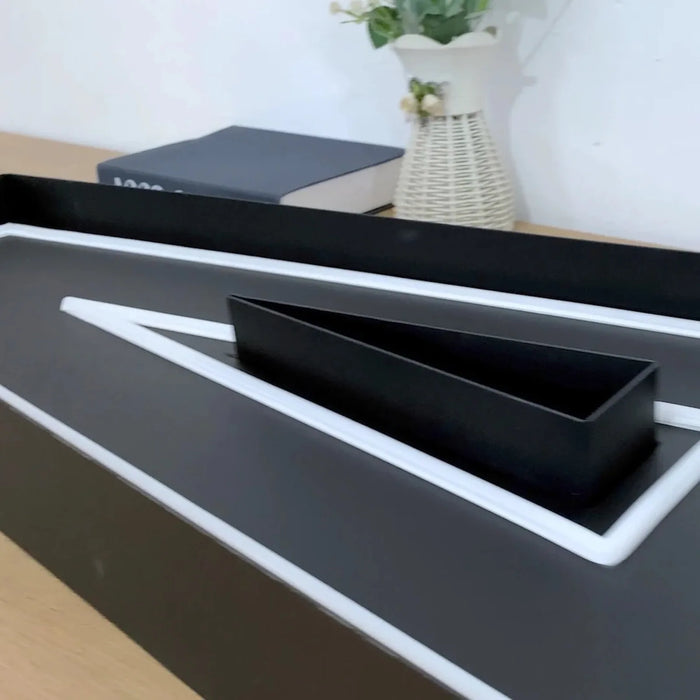
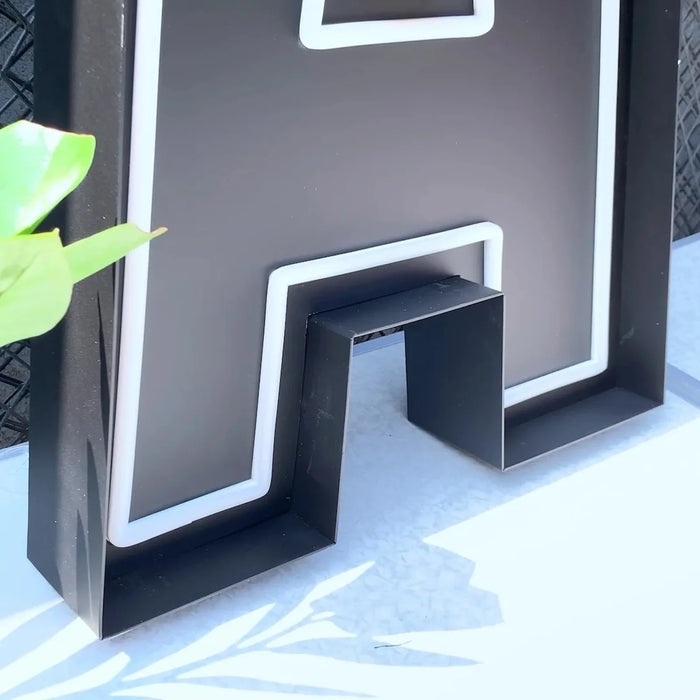
Tape the paper template to the wall and get it level, drill a hole at every mark, take the template down, screw the threaded rods into the back of the letter, run neutral-cure silicone along its back, feed the wire into the wire hole, then line up the rods and press the letter onto the wall.
That is the whole stud-mount install. The video shows it in under two minutes, and the written steps below add what to check at each one.
What you need
- ✓ The paper installation template that comes with your letters. It is full size, with every rod hole and the wire hole marked.
- ✓ Tape and a level.
- ✓ A drill.
- ✓ A caulking gun and neutral-cure silicone. Neutral-cure only. The reason is just below the steps.
Step by step
- Tape the paper template to the wall (0:00). Put it exactly where the letter will go and check it with a level before you tape the last corner. Every hole comes from the template, so if the template is out of level, the letter will be too.
- Drill a hole at every mark (0:11). Drill straight through the template at each rod mark and at the wire hole. Check that there are no pipes or cables in the wall behind the marks first. If you are not sure which bit to use for your rods and your wall, ask us before you drill.
- Remove the template (0:30). Peel it off. The holes are now your guide.
- Screw the threaded rods into the back of the letter (0:41). One rod into each fitting on the back, until it is snug.
- Apply neutral-cure silicone along the back of the letter (0:59). Run a bead along the back of the letter with the caulking gun.
- Feed the wire into the wire hole (1:14). Thread the letter's wire through the wall before the letter goes up. It cannot be done afterwards.
- Line up the rods and press the letter onto the wall (1:27). Guide each rod into its hole and press the letter firmly against the wall. Then leave it alone until the silicone has cured. The tube gives the cure time.
Before you drill
- ✓ Level, twice. Check the template once after taping and again just before the first hole.
- ✓ What is inside the wall. Pipes and cables behind the marks. A detector is cheap compared with the alternative.
- ✓ Where the wire comes out. Know what is on the other side of the wire hole and where the power supply will sit.
- ✓ Whether you may drill at all. Leases often limit holes in the facade, and storefront signs can need a permit. See Do business signs need a permit?
When to call a pro
The steps above are within reach of most people on an indoor wall at a height you can work from comfortably. Bring in help when any of these apply:
- ✓ Working at height. On a storefront fascia or anywhere above head height, use a sign installer with the right access equipment.
- ✓ Hardwired power. If your sign connects to the building's power rather than plugging in, have a licensed electrician make that connection.
- ✓ An unusual wall. Cladding, insulated render or glass behave differently from solid masonry or drywall. Ask before you drill.
The template does the hard part. If it is level, every hole lands where the letter expects it and the rest is mechanical. The two things worth slowing down for are the level and the silicone: check the template twice before you drill, and check the tube says neutral cure before you buy it.
Questions about installing your sign? Email service@aoos.com or call (213) 328-2667.
Frequently asked questions
How do you install channel letters on a wall?
Tape the paper template to the wall and level it, drill a hole at every mark, remove the template, screw the threaded rods into the back of the letter, apply neutral-cure silicone along its back, feed the wire into the wire hole, then line up the rods and press the letter onto the wall. Leave it undisturbed until the silicone has cured.
What silicone should I use for channel letters?
Neutral-cure silicone only. Ordinary acetoxy silicone, the kind that smells of vinegar, releases acetic acid as it cures, and that acid can corrode metal and damage the wiring and electronics in the letter. The tube will say neutral cure on it.
Do I need the paper template?
Yes. It marks where every rod and the wire hole go at full size. Measuring the holes by hand is where small errors creep in, and a rod that is a few millimetres out will not go into its hole. If you have lost the template, contact us before you drill.
Can I install channel letters myself?
On an indoor wall at a comfortable working height, most people can follow these steps. For a storefront fascia, any work at height, or a sign that connects to the building's power, use a professional sign installer and a licensed electrician. Storefront signs may also need a permit.
How long before the letter is secure?
That depends on the silicone. The cure time is printed on the tube. Leave the letter undisturbed until it has passed, and do not hang anything from it or knock it out of line in the meantime.
We have made neon since 1998, and we still make it ourselves. If something here does not answer your question, ask us.